
Main Courses
Breakfast & Sweets
Sides & Breads
Appetizers & Starters
Table of Contents
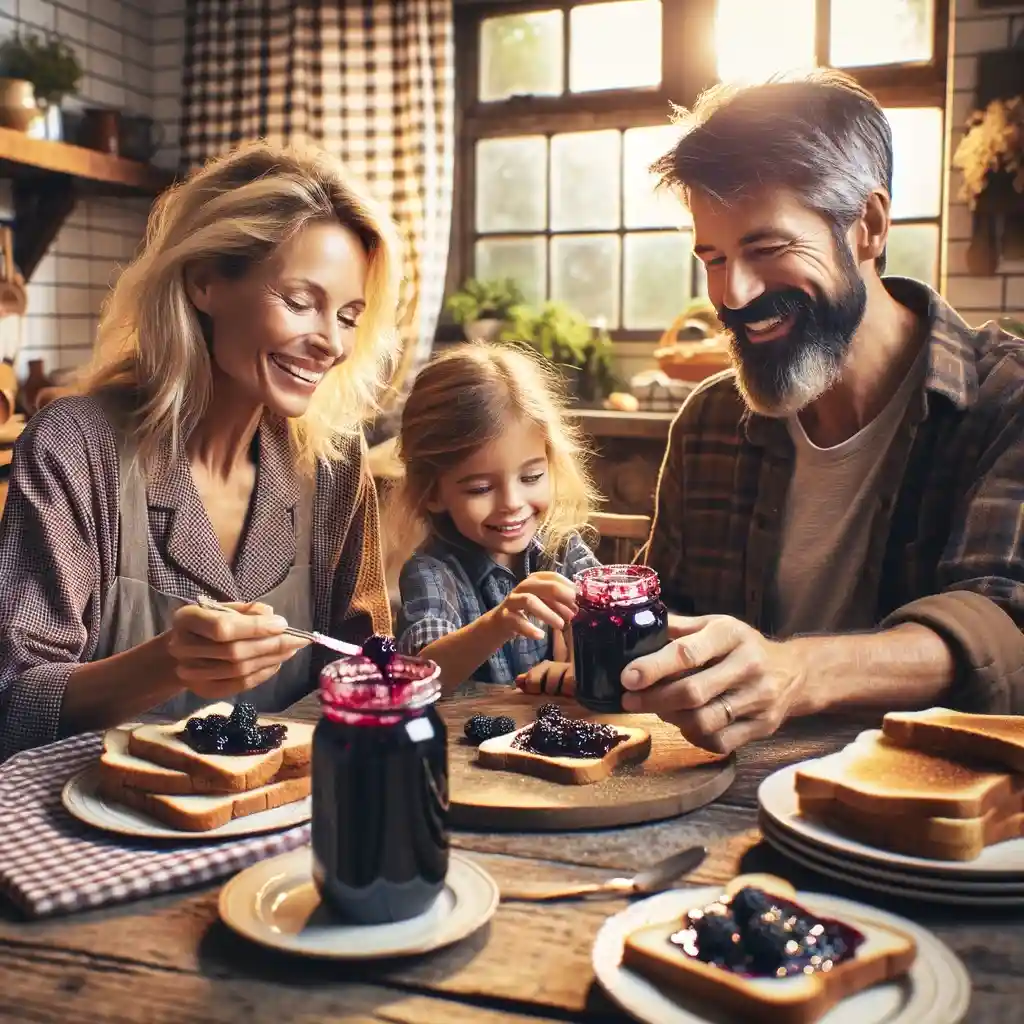
Do you love the sweet taste of blackberries? If yes, then you’re in for a treat! Today, we’re going to share a super simple and delicious blackberry jelly recipe. It’s so easy that even kids can help out. Plus, it’s a fantastic way to enjoy this yummy berry.
Ingredients and Tools: Your First Step to a Perfect Jelly
To start your homemade blackberry jelly, gather fresh blackberries, sugar, water, and pectin. You’ll also need a large pot, a strainer or cheesecloth, jars for storing your jelly, and a sense of adventure!
The Joy of Making Blackberry Jelly
ServingsThis recipe typically yields enough jelly to serve approximately 8–10 people, depending on the serving size.
-
Prep Time: The preparation time, which includes washing the blackberries and preparing the ingredients, is around 15-20 minutes.
-
Cooking Time: The actual cooking time for the jelly is about 10–15 minutes, plus additional time for the jelly to cool and set, which can take several hours or overnight.
-
Cuisine: This recipe falls under the general category of American cuisine, as homemade fruit jellies are a staple in many American households.
-
Course: Blackberry jelly is typically used as a condiment or spread, making it ideal for breakfast or as an addition to desserts.
-
Difficulty Level: This recipe is considered easy, making it suitable for beginners or those with basic cooking skills.
-
Calories (Kcal): The calorie content primarily depends on the amount of sugar used. Roughly, this recipe could have about 50–70 kcal per tablespoon, but this can vary.
[wpzoom_rcb_post id=”10844″]
Serving Suggestions: Beyond Toast and Sandwiches
While delicious on toast, homemade blackberry jelly has endless possibilities. Swirl it into yogurt, use it as a glaze for meats, or simply enjoy it with a spoon—each taste is a celebration of nature’s bounty.
Safety First: Tips for First-Time Jelly Makers
If you’re new to jelly-making, remember to prioritize safety. Always use proper canning techniques and ensure your work area is clean. Homemade blackberry jelly is as much about the process as it is about the final product.
Tips for the Perfect Jelly
-
Quality of Berries: Always use fresh, ripe blackberries for the best flavor.
-
Sugar and pectin: These ingredients are key to setting your jelly. Follow the measurements closely.
The Rewards of Patience: Enjoying Your Homemade Jelly
The true beauty of homemade blackberry jelly lies in the waiting. As it rests, the flavors meld and deepen, creating a spread that’s both rich and refreshing. It’s a testament to the power of simple ingredients and the magic of home cooking.
For information about nutrition and health considerations, we suggest visiting the FDA (Government of the United States) site.
Conclusion
Making homemade blackberry jelly is more than just a culinary activity; it’s a way to create lasting memories. Whether it’s the joy of picking the berries, the laughter shared during the cooking process, or the pride in sharing your creation, this jelly is a celebration of the simple things in life.
Remember, the best ingredient in any homemade blackberry jelly is the love and care you put into it. So, tie on your apron, gather your ingredients, and get ready to make some delicious memories!
FAQs About Blackberry Jelly
Can I use frozen blackberries?
Yes, you can use frozen blackberries to make homemade blackberry jelly. In fact, frozen blackberries can be a convenient and practical alternative to fresh ones, especially when blackberries are out of season. When using frozen blackberries, here are a few tips to keep in mind:
-
Thawing: Allow the blackberries to thaw completely before using them. This will help in extracting the juice more efficiently.
-
Juice Extraction: Once thawed, the blackberries might be softer and more water-laden than fresh ones. This can actually make it easier to extract their juice.
-
Sugar Adjustment: Frozen blackberries can sometimes be less sweet than fresh ones, depending on the variety and how they were processed. You might need to adjust the amount of sugar in your jelly recipe accordingly.
-
Pectin Levels: The pectin levels in frozen blackberries may differ slightly from those in fresh ones. Pectin is what helps the jelly to set, so you might need to use a bit more or less pectin than your recipe calls for. It’s a good idea to follow the instructions on the pectin packaging for making jelly with frozen fruit.
-
Cooking Time: The cooking time might vary slightly when using frozen fruit. Just make sure to cook the mixture until it reaches the proper setting point.
Remember to always start with a good recipe and make adjustments as needed. Enjoy your jelly-making!
How long does homemade jelly last?
The shelf life of homemade jelly can vary depending on several factors, including the ingredients used, the method of preparation, and how it is stored. Here are some general guidelines:
-
Before Opening:
-
Room Temperature: When properly canned and sealed in airtight jars, homemade jelly can last up to 1 to 2 years when stored in a cool, dark place. This assumes that you’ve used the proper canning process to create a vacuum seal, which protects the jelly from spoilage and contamination.
-
Seal and Sterilization: The longevity greatly depends on the seal of the jars and whether they were sterilized correctly during the canning process. A good seal prevents air and bacteria from getting into the jelly.
-
-
After Opening:
-
Refrigerator: Once opened, homemade jelly should be refrigerated and is best consumed within about one month. Over time, the quality and flavor may decline, and there is a higher risk of mold formation.
-
-
Signs of Spoilage:
-
It’s important to look for signs of spoilage before consuming homemade jelly, especially if it’s been stored for a while. Any signs of mold, an off smell, or a change in color indicate that the jelly should not be eaten.
-
-
Freezing:
-
Homemade jelly can also be frozen, extending its shelf life up to a year. However, freezing might slightly alter the texture.
-
To maximize the shelf life of your homemade jelly:
-
Use clean and sterilized canning jars.
-
Follow a reliable recipe to ensure the correct balance of acidity, sugar, and pectin.
-
Store the jars in a cool, dark place until they are opened.
-
Once opened, keep the jelly refrigerated and ensure the lid is tightly closed after each use.